7 Amazing Truck Wrap Removal Secrets: Ultimate DIY Guide 2025
Thinking about removing that truck wrap? Whether it’s outdated branding or you’re prepping for a fresh look, truck wrap removal is a common task for vehicle owners. Knowing how to safely handle truck wrap removal yourself can save you time and money, and it’s not as daunting as it might seem.
Why Bother with Truck Wrap Removal?
Truck wraps are fantastic for business advertising and personal customization. They protect your truck’s paint and offer a vibrant, eye-catching finish. But like all good things, wraps don’t last forever. Several reasons might lead you to consider auto wrap removal.
- Outdated Branding: Business logos and contact information change. An old wrap can misrepresent your current brand.
- Fading and Damage: Even quality vinyl fades over time, especially with sun exposure. Cracks, peels, and bubbles can also appear, making your truck look less than professional.
- Resale Value: If you’re selling your truck, potential buyers might prefer a clean, unwrapped vehicle. Removing car vinyl can broaden your appeal.
- Personal Preference: Sometimes, you just want a change! Maybe you’re tired of the design or want to return to your truck’s original paint.
Generally, a vinyl car wrap is designed to last for about 5 to 7 years, depending on the quality vinyl used and environmental conditions. If your wrap is nearing or past this point, removing vinyl wrap after 5 years is likely on your mind. Signs it’s time for vehicle wrap removal include:
- Significant fading or color change.
- Edges peeling or lifting.
- Cracking or bubbling across the wrap surface.
- Adhesive failure causing the wrap to detach.
Ignoring these signs can make truck wrap removal more difficult to remove later on, potentially leading to more adhesive residue and a tougher job overall.
Considering a new truck altogether? Before you decide on a new wrap, maybe explore your options. For instance, if you’re thinking about a robust and safe vehicle, you might want to read about the 2025 caterpillar pickup truck and see if it fits your needs.
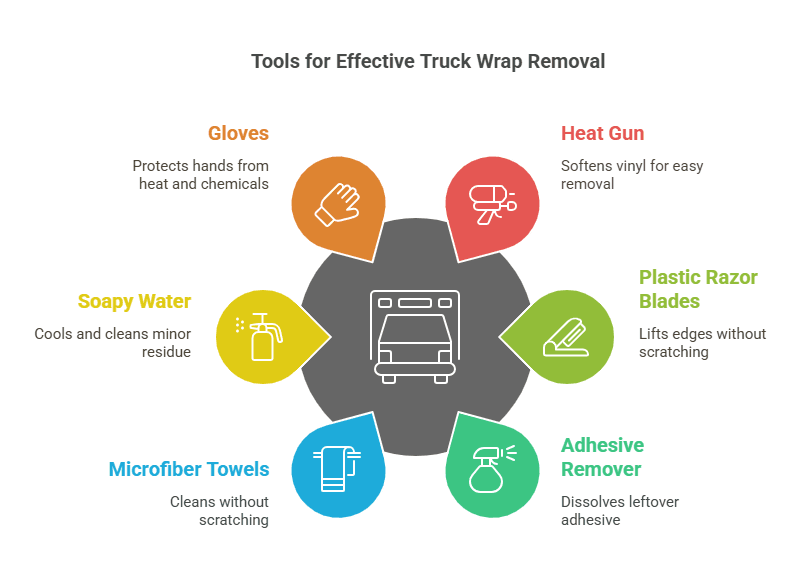
Gathering Your Truck Wrap Removal Toolkit
Before you start how to remove a vinyl wrap, gathering the right tools is crucial for a smooth and damage-free process. Trying to rush or use improper tools can damage the paint underneath and leave you with a sticky mess. Here’s what you’ll need for effective how to remove wrap:
- Heat Gun: A heat gun is your best friend in truck wrap removal. It heat the vinyl, making it pliable and easier to peel away. Avoid using a hair dryer, as it doesn’t produce enough consistent heat.
- Plastic Razor Blades: These are essential for lifting edges and starting the peeling process without scratching your truck’s paint. Metal blades are a definite no-no as they can easily cause damage. A plastic razor blade is designed for delicate surfaces.
- Adhesive Remover: Even with careful pulling the vinyl, some adhesive left behind is almost inevitable. A good adhesive remover will dissolve this residue without harming the paint. Choose one specifically designed for automotive finishes.
- Microfiber Towels: You’ll need plenty of microfiber towels. Use them to apply adhesive remover, wipe away residue, and clean the surface. They are soft and won’t scratch the paint.
- Spray Bottle with Soapy Water: A mild soapy water solution in a spray bottle is helpful for cooling down overheated areas and cleaning up minor residue.
- Gloves: Protect your hands from heat and chemicals by wearing gloves.
- Optional but Helpful:
- Heat Gun with Temperature Control: This allows for more precise heating and reduces the risk of overheating the vinyl.
- 3M™ Stripe Off Wheel or Similar Eraser Wheel: For large areas of stubborn adhesive, these wheels can be lifesavers, but use them cautiously and follow instructions to avoid paint damage.
If you’re thinking about branding and want to equip your team, maybe consider some branded gear. You can find options for bulk trucker hats which could be a great way to promote your business while your trucks are getting a fresh look.
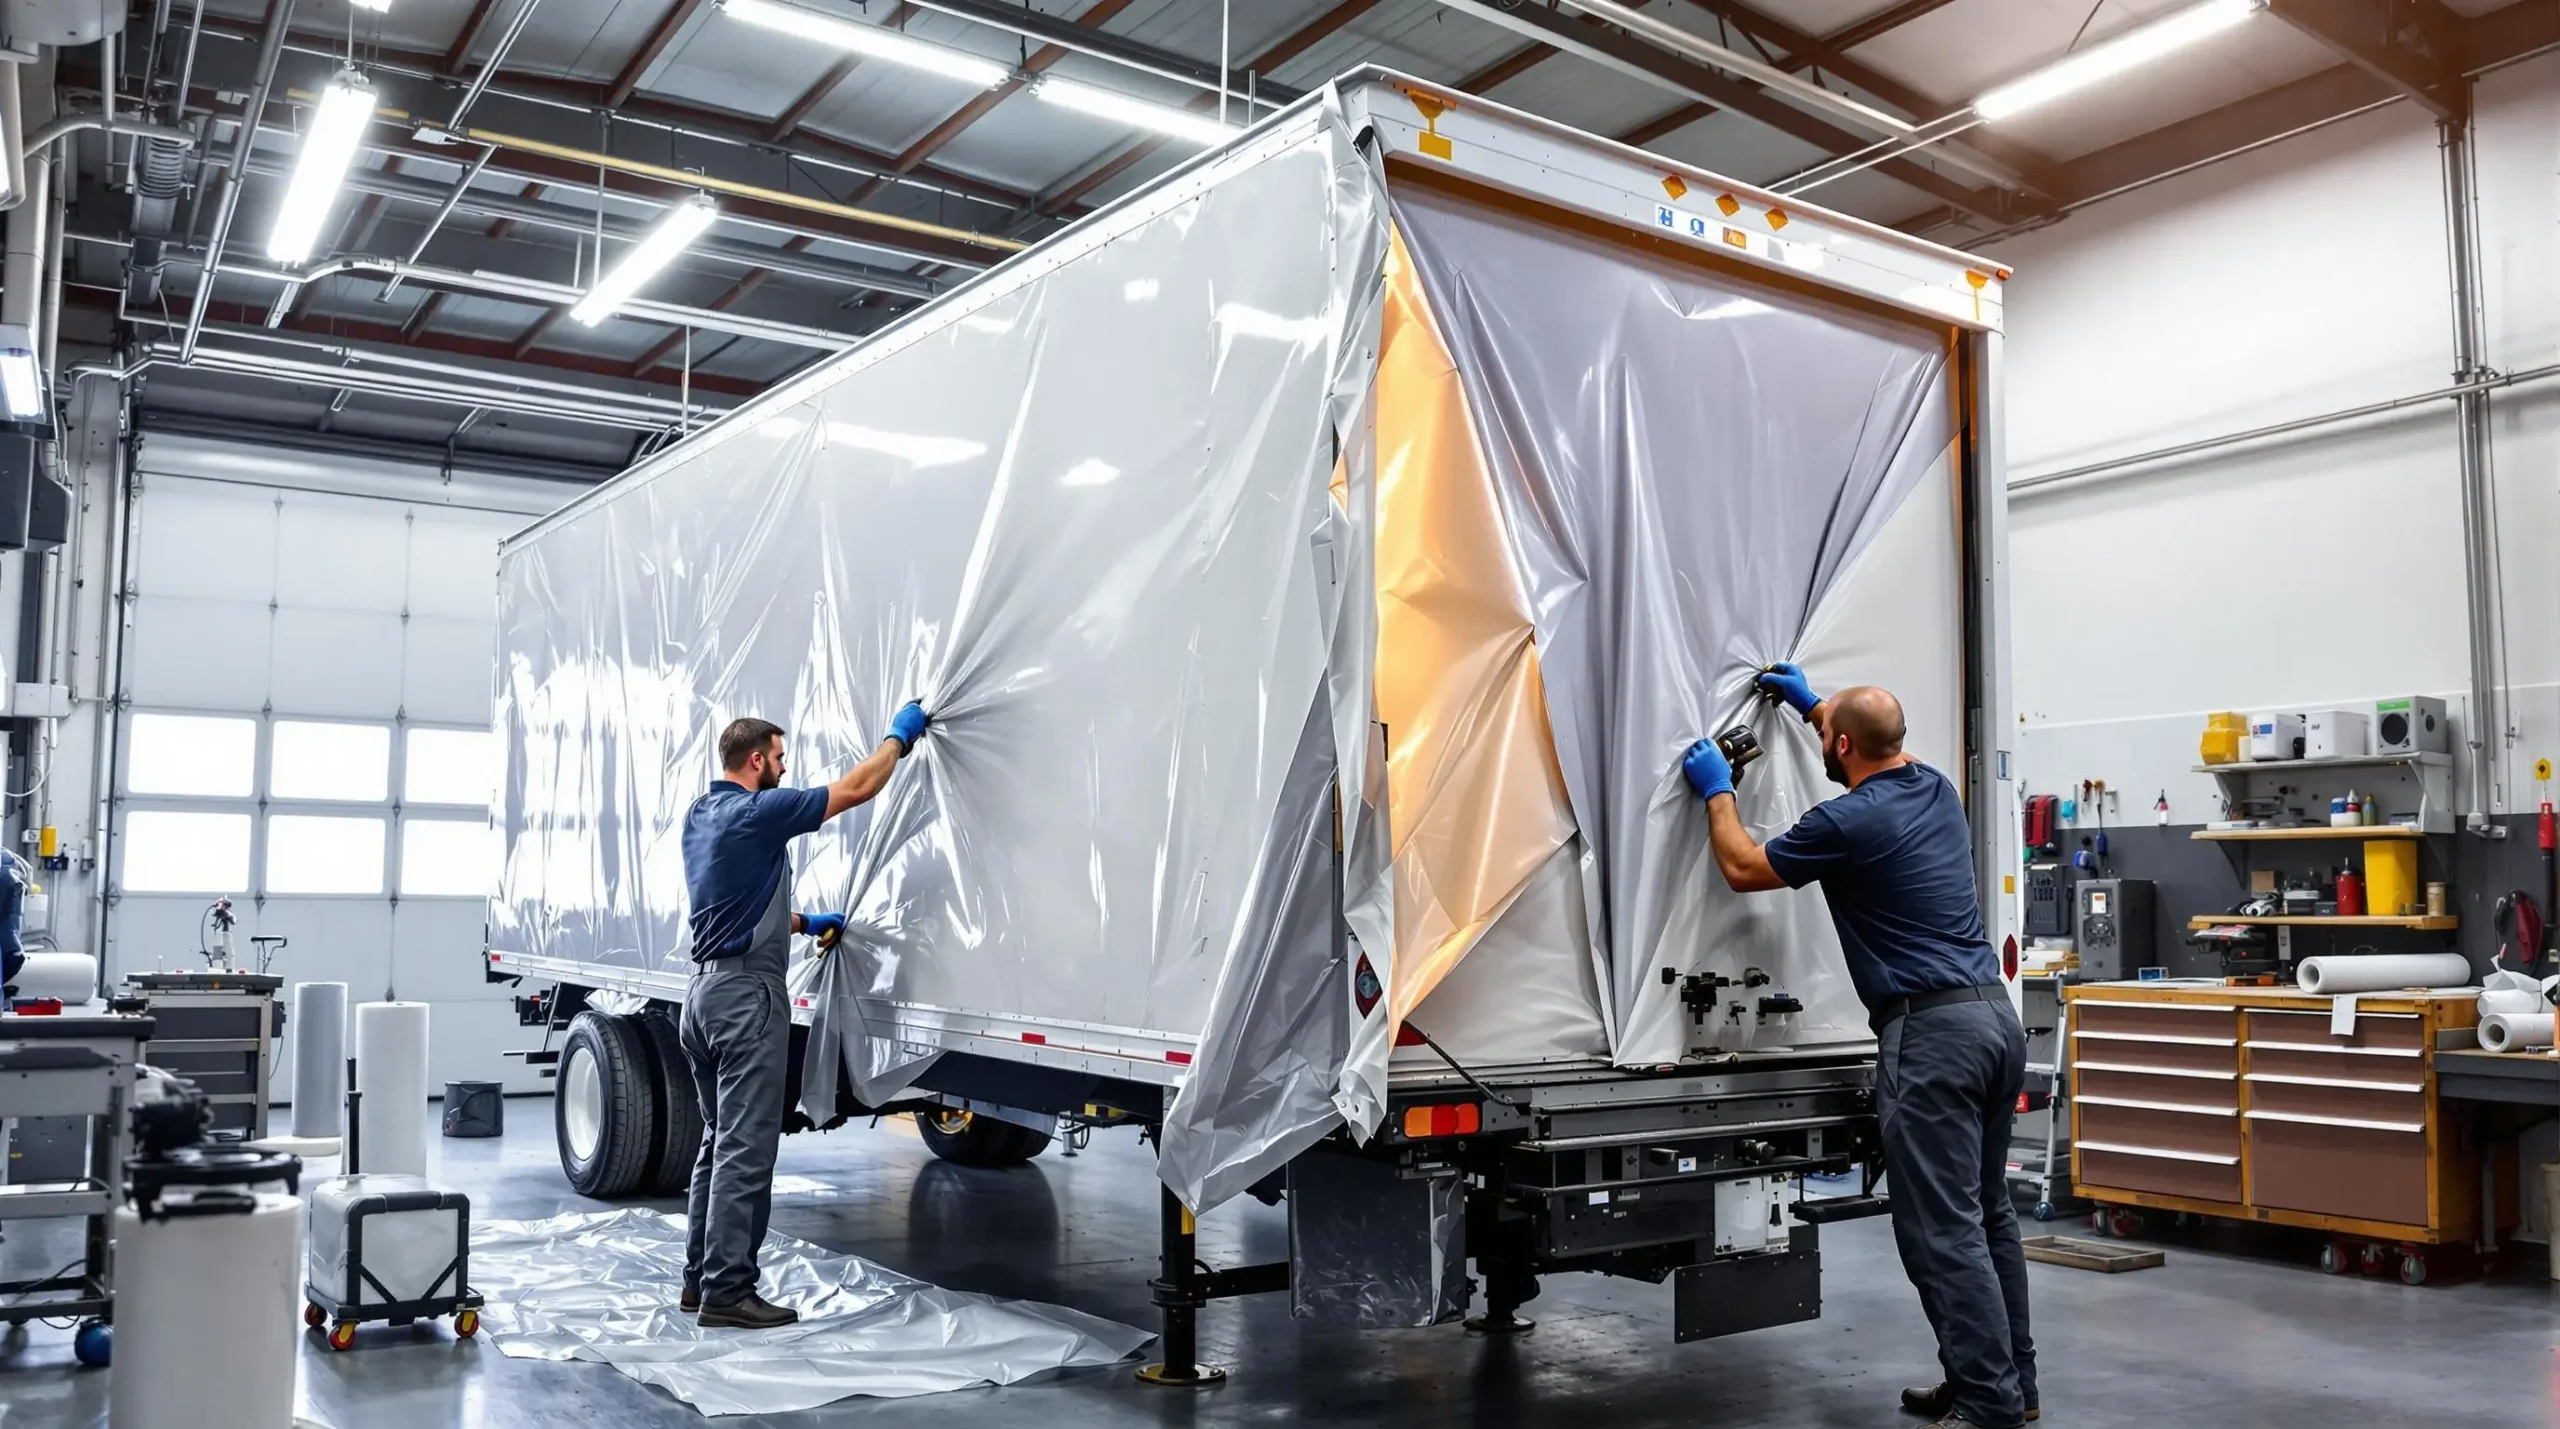
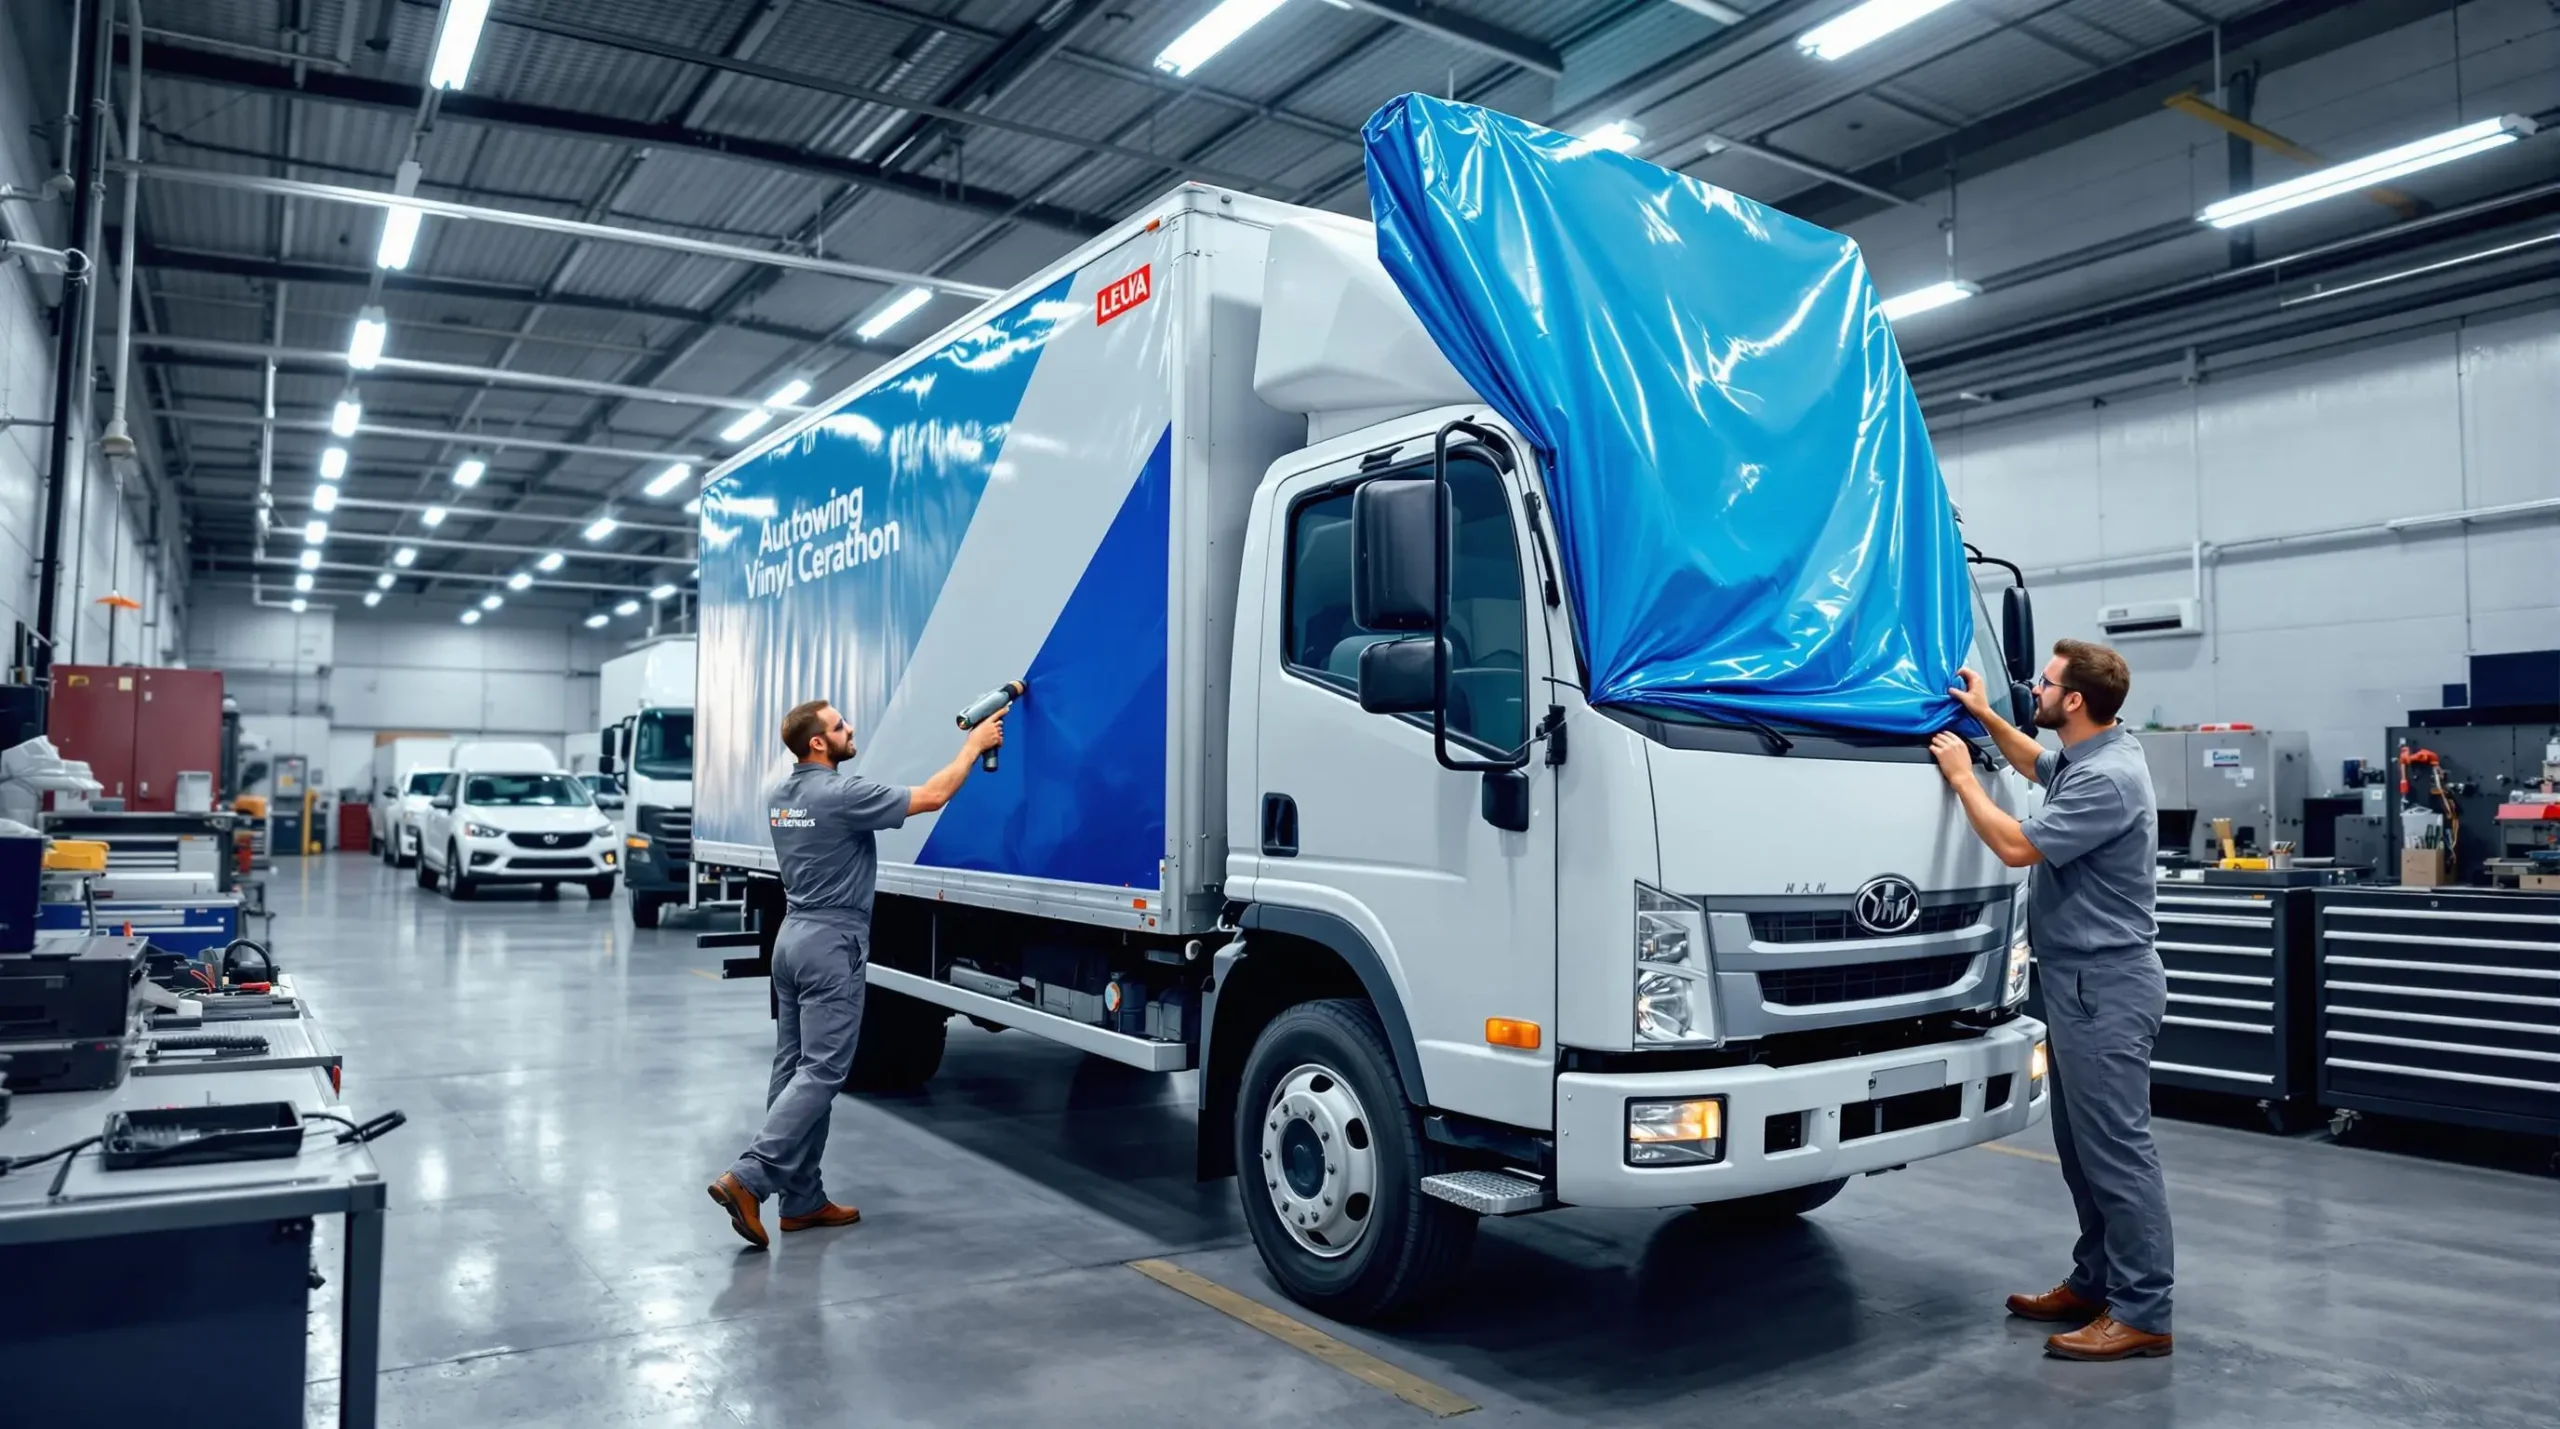
The Step-by-Step Truck Wrap Removal Process
Now for the main event: removing car vinyl. Take your time and follow these steps for the best results in safely removing your truck wrap.
- Preparation is Key:
- Wash and dry your truck thoroughly. This removes dirt and debris that could scratch the paint during the removal process.
- Work in a shaded area or indoors if possible. Direct sunlight can make the vinyl too hot and sticky, making it harder to remove. Ideal temperatures are between 70-90°F (21-32°C).
- Apply Heat Strategically:
- Using your heat gun, apply heat to a small section of the wrap (about 12-18 inches square). Keep the heat gun moving and hold it a few inches away from the surface. The goal is to heat the vinyl evenly and softens the adhesive underneath, not to melt the vinyl.
- Test the heat by trying to lift an edge with your fingernail or plastic razor blade. If it lifts relatively easily, you’ve applied enough heat. If it’s still stiff, apply a bit more heat. Be careful not to overheat, which can make the adhesive stickier and harder to remove.
- Peel at the Right Angle:
- Once heated, use your plastic razor blade to gently lift an edge of the vinyl.
- Grip the lifted edge and begin pulling the vinyl slowly and steadily at a shallow pressure angle and speed (around 45 degrees). Pulling too quickly or at a sharp angle can cause the vinyl to tear and leave more adhesive behind.
- Continue heating the vinyl just ahead of where you are peeling. Work in small sections, heating and peeling as you go.
- Tackling Stubborn Areas:
- Some areas, especially corners, edges, and areas that have been exposed to more sun, might be more difficult to remove. Apply heat more liberally to these areas, but still cautiously.
- If the vinyl tears, don’t panic. Just reheat the area and use your plastic razor blade to lift the torn edge and continue peeling.
- Adhesive Removal:
- After removing the vinyl, you’ll likely have some adhesive residue remaining. Spray your adhesive remover onto a microfiber towel (never directly onto the truck’s surface).
- Gently rub the affected areas with the towel to dissolve the adhesive. Let the remover sit for a minute or two as directed by the product instructions, especially for thicker residue.
- Wipe away the dissolved adhesive with a clean microfiber towel. You may need to repeat this process a few times for stubborn spots.
- For large areas of residue, consider using an eraser wheel cautiously, as mentioned earlier.
- Final Cleaning:
- Once all the adhesive is removed, wash the area again with soapy water to neutralize any remaining adhesive remover and ensure a clean surface.
- Dry the area thoroughly with a clean microfiber towel.
- Inspect your work. If you find any missed spots of adhesive, repeat the adhesive removal process.
Thinking about the future of vehicles and maybe considering electric? It’s interesting to see how different brands are competing. You might find our comparison of Rivian vs Tesla insightful as you consider your next vehicle moves.
The International Sign Association’s best practices provide detailed guidance on handling difficult wrap removal situations in various weather conditions.
Handling Tricky Situations and Preventing Damage
While truck wrap removal is often straightforward, some situations can present challenges. Knowing how to handle these can prevent frustration and potential damage.
- Old or Brittle Wraps: Wraps that have been on for many years, especially lower quality vinyl, can become brittle and prone to tearing. Extra patience and gentle heating are key. Work in even smaller sections and be prepared for more adhesive residue.
- Cold Weather Removal: Vinyl is much harder to remove in cold weather. If you must remove a wrap in cold conditions, you’ll need to apply heat more generously and for longer periods. Consider working in a heated garage if possible.
- Overheated Vinyl: Overheating vinyl can make the adhesive melt and become extremely sticky, making removal much harder and increasing the chance of leaving residue. If you suspect you’ve overheated an area, let it cool down slightly before attempting to peel. Spraying with soapy water can also help cool it down.
- Paint Concerns: While quality vinyl wraps are designed to be paint-safe, there’s always a slight risk, especially with older or repainted vehicles. Always test a small, inconspicuous area first to ensure the removal process doesn’t lift or damage the paint. If you’re concerned about delicate paint, consider professional vehicle wrap removal.
- Stubborn Adhesive Residue: Some adhesives are just more persistent than others. If standard adhesive remover isn’t cutting it, try a stronger automotive-grade adhesive remover. Always test in an inconspicuous area first. For truly stubborn residue, an eraser wheel, used carefully, can be effective.
With trucks being such versatile vehicles, you might be interested in exploring different types. For example, if you’re curious about electric trucks and adapters, you might find information about the Hummer EV SUV adapter Tesla Supercharger interesting. It shows how the automotive world is evolving.
When to Call in the Pros for Truck Wrap Removal
While DIY truck wrap removal is achievable, there are times when seeking professional help is the wiser choice.
- Large or Complex Wraps: Removing wraps from large trucks or those with intricate designs can be very time-consuming and physically demanding. Professionals have the tools and experience to do it efficiently.
- Old or Problematic Wraps: If your wrap is very old, brittle, or you’ve already encountered significant difficulties, professionals are better equipped to handle these challenging removals and minimize the risk of paint damage.
- Concerns About Paint: If you are worried about damaging your truck’s paint, especially if it’s a classic or has a custom finish, professional vehicle wrap removal is a safer bet. They have specialized techniques and products to protect delicate surfaces.
- Lack of Time or Tools: If you don’t have the time, patience, or the necessary tools like a heat gun and adhesive remover, hiring professionals can save you a lot of hassle.
- Warranty or Lease Agreements: If your truck is under warranty or a lease, check the terms regarding modifications and removals. Professional removal might be required to maintain your warranty or lease agreement.
Conclusion:
Truck wrap removal is a manageable DIY project with the right tools, patience, and technique. By understanding the process, gathering your supplies, and following these steps, you can successfully remove a vinyl wrap and prepare your truck for its next chapter. Remember to take your time, use heat strategically, and don’t hesitate to seek professional help when needed. A clean, unwrapped truck can feel like a fresh start!
Have you ever removed a truck wrap yourself? Share your tips and experiences in the comments below! If you found this article helpful, please share it with others who might be tackling auto wrap removal!
#truckwrapremoval #autowrapremoval #vinylremoval
Let me know if you would like any adjustments or further refinements to this article!
There are no reviews yet. Be the first one to write one.