Wrap Your Car Like a Pro: How to Wrap a Car for Beginners
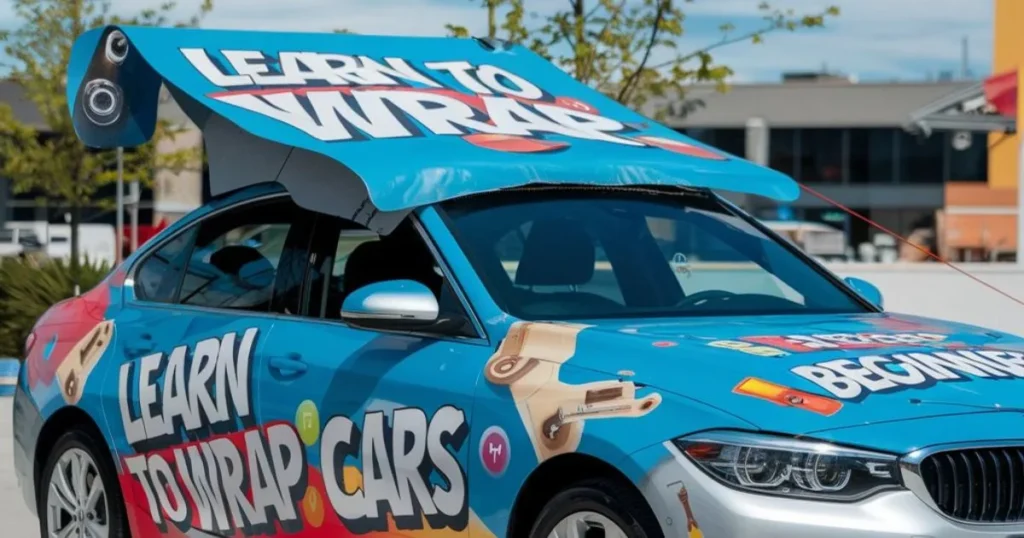
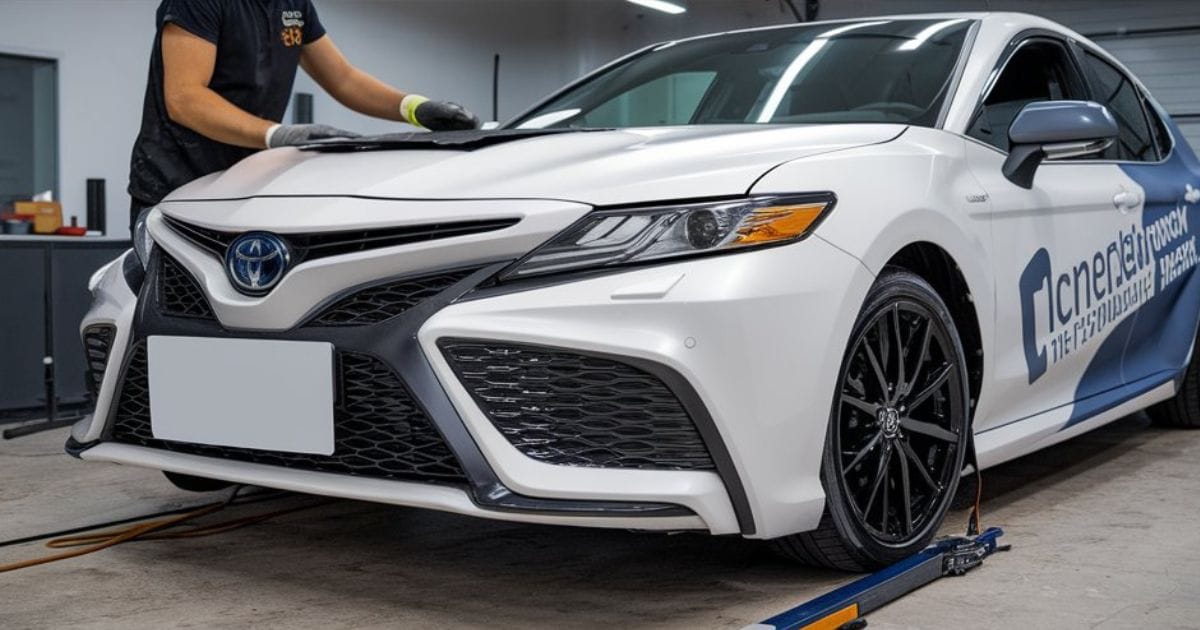
Ever dreamt of giving your vehicle a fresh, head-turning look without the hefty cost of a paint job? Learning how to wrap a car for beginners is your ticket to transforming your ride’s appearance while protecting its original finish. In this comprehensive guide, we’ll unveil pro secrets and walk you through the step-by-step process to help you wrap your car like a seasoned professional.
Why Consider Car Wrapping?
Car wrapping has surged in popularity, and for good reason. It’s a cost-effective, reversible, and customizable way to personalize your vehicle. Whether you’re aiming to make a bold statement or protect your car’s paint, wrapping offers numerous benefits:
- Protection: Shields the original paint from UV rays, minor scratches, and weather damage.
- Customization: Endless options with colors, finishes, and designs.
- Resale Value: Preserves the original paint, potentially increasing resale value.
- Cost-Effective: Generally more affordable than a full paint job.
1. Getting Started: How to Start Wrapping Cars
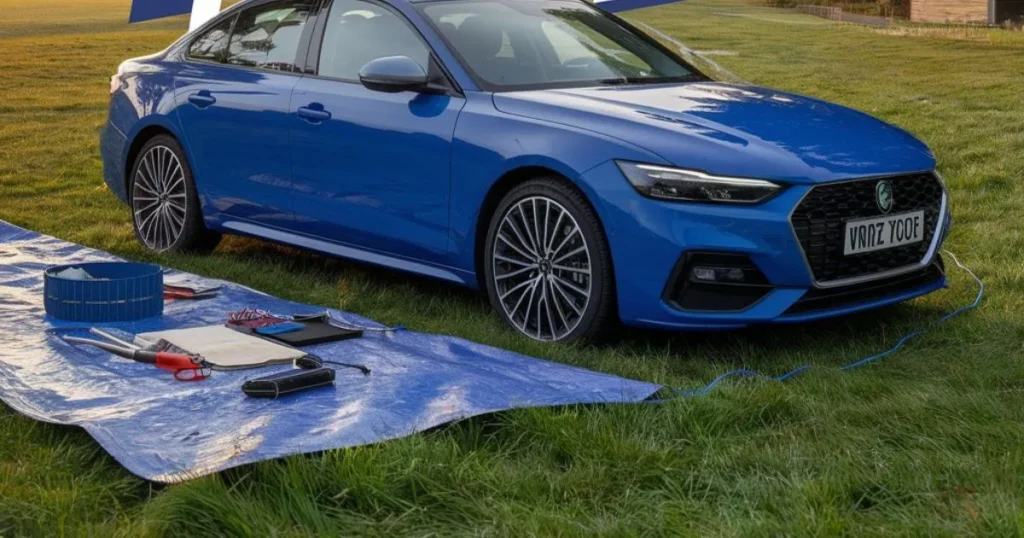
Embarking on your car wrapping journey begins with understanding the basics. As a beginner, it’s crucial to familiarize yourself with the process, tools, and techniques involved. Before starting your wrapping project, ensure you’re comfortable with basic car maintenance. Our guide on how to wash your car at home provides essential knowledge about working with your vehicle’s exterior.
Understanding the Basics
- Research and Learn: Utilize online tutorials, workshops, and forums. Websites like Wrap Institute offer valuable insights.
- Practice: Start on smaller projects like laptops or bicycles to hone your skills.
- Set Realistic Expectations: Wrapping a car requires patience and precision. Don’t rush the process.
The Learning Curve
Starting can be intimidating, but remember, every expert was once a beginner. Many first-time wrappers find success by:
- Practicing on Spare Panels: Obtain old car panels from junkyards to practice.
- Shadowing Professionals: If possible, spend time with experienced wrappers to observe techniques.
2. Essential Tools and Materials: Vinyl Materials and More
Having the right tools is half the battle. Invest in quality equipment to ensure a smooth wrapping process and a professional finish. Keep your workspace organized and maintain a detailed inventory of your supplies – using a vehicle maintenance log template can help track your materials and project progress.
Must-Have Tools and Supplies
- Quality Vinyl Wrap Material: Brands like 3M, Avery Dennison, and Oracal are industry favorites.
- Heat Gun: Essential for stretching and conforming vinyl around curves.
- Squeegees: Felt-tipped or silicone edge squeegees prevent scratching.
- Lint-Free Cloths: For cleaning surfaces without leaving fibers.
- Isopropyl Alcohol (70%-90%): For thorough surface cleaning.
- Cutting Tools: Precision knives and blades for trimming excess vinyl.
- Gloves: Wrap-specific gloves improve grip and prevent fingerprints.
- Measuring Tape: Accurate measurements are key to reducing waste.
Choosing the Right Vinyl
The outcome largely depends on the type of vinyl you select. Factors to consider:
- Durability: Cast vinyl is more durable and conformable than calendared vinyl.
- Finish: Choose from gloss, matte, satin, metallic, chrome, or textured finishes.
- Air-Release Technology: Vinyl with air-release channels reduces the risk of air bubbles.
- For in-depth comparisons of vinyl brands, visit FESPA’s Vinyl Wrap Guide.
3. Step-by-Step Car Wrapping Process
Transforming your car starts with meticulous preparation and careful execution. Follow these steps to wrap your car successfully.
Step 1: Preparation
Clean the Vehicle Thoroughly
- Wash: Use car shampoo to remove dirt and grime.
- Decontaminate: Use a clay bar to eliminate contaminants.
- Dry: Ensure the car is completely dry before proceeding.
- Degrease: Wipe down surfaces with isopropyl alcohol and a lint-free cloth.
Create an Ideal Workspace
- Climate-Controlled Environment: Aim for temperatures between 68°F and 77°F (20°C – 25°C).
- Dust-Free Zone: Minimize dust and wind to prevent particles from sticking to the vinyl.
- Proper Lighting: Good lighting helps spot imperfections.
Remove Obstacles
- Detach Parts: Remove door handles, mirrors, badges, and trim for a seamless wrap.
- Cover Sensitive Areas: Protect areas like headlights and windows with masking tape.
Step 2: Measuring and Planning
- Measure Each Panel: Record dimensions of doors, hood, roof, etc.
- Calculate Vinyl Needed: Add extra material (4-6 inches) to each measurement for overlap and errors.
- Plan the Layout: Decide the order of panels to wrap, typically from top to bottom.
Step 3: Cutting and Placement
- Cut Vinyl Pieces: Use the measurements to cut pieces for each panel.
- Position the Vinyl: Carefully align the vinyl over the panel without removing the backing completely.
- Secure in Place: Use magnets or tape to hold the vinyl.
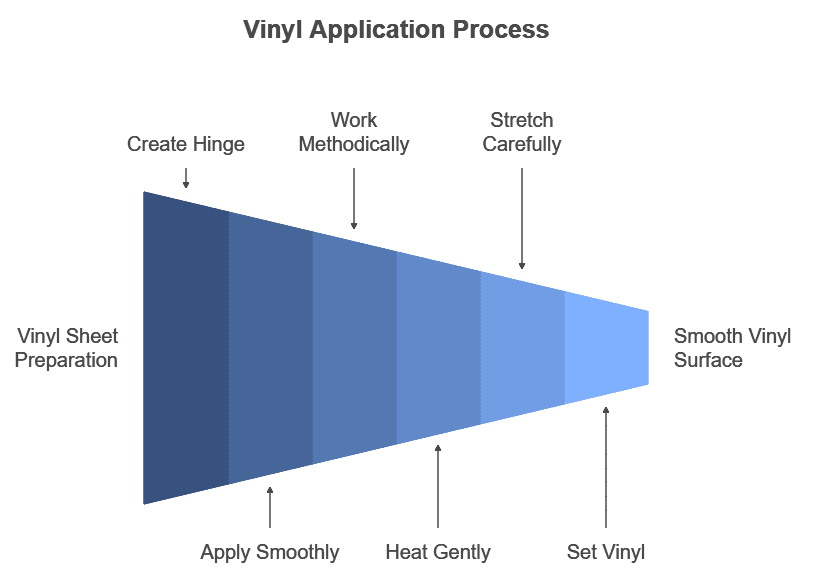
Step 4: Application
The Hinge Method
- Create a Hinge: Peel back a small section of the backing at the top and secure the vinyl.
- Apply Smoothly: Gradually remove the backing while applying the vinyl with a squeegee.
- Work Methodically: Move from the center outward to prevent air bubbles.
Using the Heat Gun
- Heat Gently: Warm the vinyl to make it pliable, especially around curves.
- Stretch Carefully: Avoid overstretching, which can cause discoloration or damage.
- Set the Vinyl: After application, reheat areas to “set” the vinyl and reduce memory.
Dealing with Air Bubbles and Wrinkles
- Air Release Channels: Utilize vinyl with air-release technology.
- Pop Bubbles Gently: Use a pin to puncture and smooth out stubborn air bubbles.
- Re-lift if Necessary: If wrinkles occur, gently lift the vinyl, heat, and reapply.
Step 5: Finishing Touches
- Trim Excess Vinyl: Use a sharp blade to cut along edges and around fixtures.
- Edge Seal: Press down firmly on edges and seams to prevent lifting.
- Reassemble Parts: Reattach mirrors, handles, and other removed components.
- Final Inspection: Check for imperfections and address them promptly.
4. Common Mistakes to Avoid: Tips for Beginners
Even with diligence, mistakes can happen. Being aware of common pitfalls can help you avoid them. Proper cleaning is crucial – check out our guide on the best cleaners for car windows to ensure a spotless surface before wrapping.
Mistake 1: Inadequate Surface Preparation
- Issue: Dirt or oils prevent vinyl from adhering properly.
- Solution: Take extra time cleaning and use proper degreasers.
Before applying vinyl, ensure your car is spotless – learn how to remove water spots from your car for the best results.
Mistake 2: Overstretching the Vinyl
- Issue: Leads to thinning, discoloration, or premature failure.
- Solution: Heat gently and stretch within the vinyl’s limits (typically no more than 10%).
Mistake 3: Ignoring Environmental Factors
- Issue: Wrapping in cold or hot conditions affects vinyl performance.
- Solution: Maintain a stable, recommended temperature in your workspace.
Mistake 4: Not Using Proper Tools
- Issue: Improvised tools can damage the vinyl or result in poor application.
- Solution: Invest in quality tools designed for wrapping.
[Statistic]
According to a 2023 survey by the Wrap Institute, 70% of installation failures are due to improper surface preparation and environmental conditions.
5. Turning Passion into Profit: Starting a Vinyl Wrap Business
If car wrapping has ignited a passion, consider transforming it into a profitable venture. Consider offering eco-friendly options in your business.
Crafting a Business Plan
- Market Research: Analyze demand in your area and identify your target market.
- Services Offered: Decide on full wraps, partial wraps, commercial graphics, etc.
- Financial Planning: Calculate startup costs, pricing strategies, and projected revenue.
Building Your Brand
- Portfolio Development: Document your projects with high-quality photos.
- Online Presence: Create a website and utilize social media platforms to showcase your work.
- Networking: Attend car shows, local business events, and join industry associations.
Essential Considerations
- Licensing and Permits: Ensure compliance with local business regulations.
- Insurance: Secure liability insurance to protect your business and clients.
- Continued Education: Stay updated on industry trends and advancements.
[Case Study]
Emily started her vinyl wrap business in 2022 with just a garage and a passion for cars. By focusing on quality and customer satisfaction, she expanded her clientele through word-of-mouth and now operates a successful wrap shop catering to high-end vehicles.
For resources on starting a small business, visit the U.S. Small Business Administration website.
Conclusion
Wrapping your car is an exciting and rewarding project that offers both aesthetic and protective benefits. By following this guide on how to wrap a car for beginners, you’re well on your way to achieving professional results. Whether you’re personalizing your own vehicle or considering launching a vinyl wrap business, the keys to success are practice, patience, and continuous learning.
Call to Action
Ready to embark on your car wrapping journey? Gather your tools, select your favorite vinyl, and take the first step today! Don’t forget to share your experiences and photos with our community. Subscribe to our newsletter for more tips, tutorials, and industry updates.
Note: Always follow safety guidelines and dispose of materials responsibly. This guide is intended for informational purposes and should be used in conjunction with professional advice.
Let me know if you would like any adjustments or further refinements to this article!
There are no reviews yet. Be the first one to write one.

